Pre-Print Best Practices
We recommend following these steps before every print:
-
Install a clean Build Plate on the Z-stage arm
Maintaining a clean build plate is essential for print success. Ensure your build plate is free of any dust, debris, or cured resin on the surface. -
Install a clean Resin Vat
Make sure there are no cured pieces of resin or debris in the Resin Vat. -
Install a Resin Cartridge that matches the material in the Resin Vat
The material in the cartridge must match the resin in the vat. If a different type of resin is allowed to flow, the resin vat will be contaminated and will need to be cleaned before use.
Prepare a File for Print
Use NexaX software to process .stl,.obj, and .3mf files. We would recommend taking a look at our NexaX documentation and Support and Orientation Tips for more info on how to prepare a model for printing with LSPc Printers.
Once the print file has been finalized, it needs to be saved in order to transfer to the printer
The save icon in the left toolbar allows you to both save a job (.nxa) and the scene (.nxs). Remember that the print job (.nxa) is the file the printer will use to create the part, whereas the scene file (.nxs) is a project file that lets you resume where it was left off in NexaX. Saving a job file will automatically save a scene file as well.
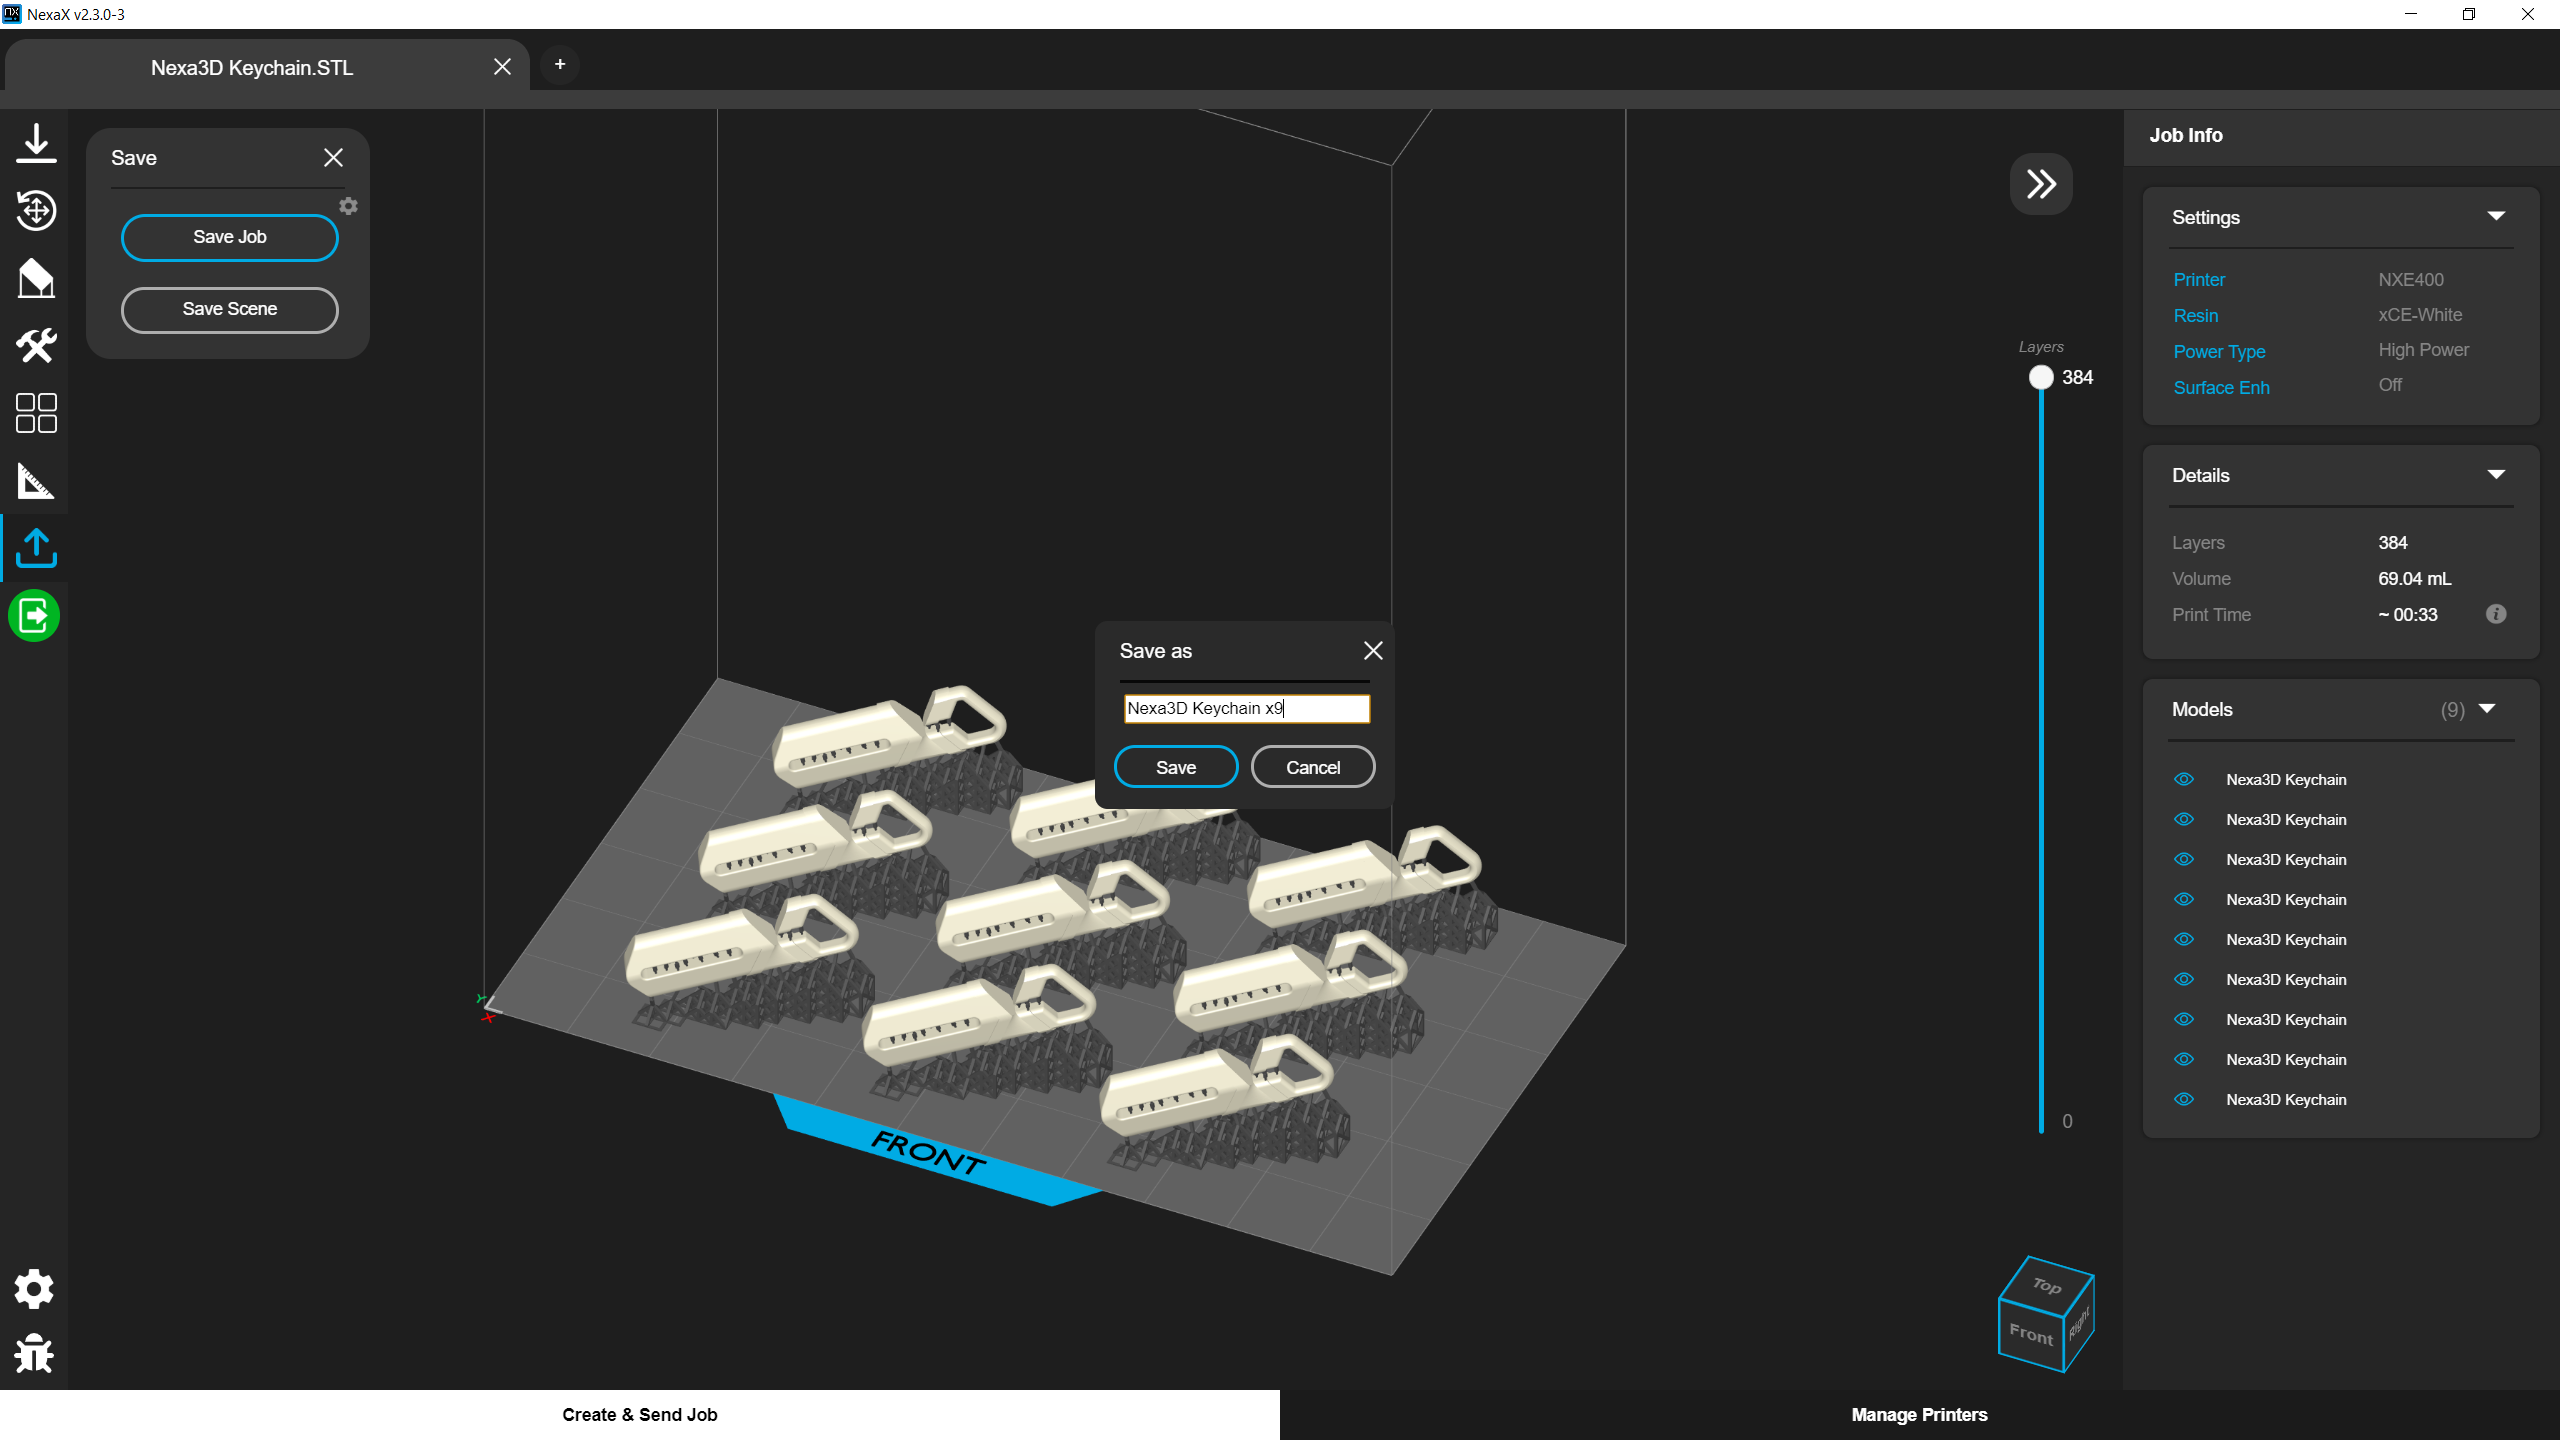
Save Job
Clicking the "Save Job" button will pop up a text field for you to name your print file. If it is your first time saving a job, it will prompt you to select a default save folder where all your jobs will save to. NexaX will create a subdirectory within here with the name you chose with several files inside:
- Print Job (.nxa)
- Data folder
- Scene File (.nxs)
- Information Text file (.txt) - resin info, models included, print time and volume
- Preview Image (.png) - picture of your scene
Send to Printer
In the Send to Printer dialogue box, use the Select Job button to locate the print job file on your computer
If the printer is connected via WiFi or Ethernet, the printer should be seen as available in this window. Select the connected printer, and click the “Send Job” button. Follow the subsequent prompts on the printer touchscreen to get the print job started.
If unable to connect via WiFi or Ethernet, a print job can also be transferred via a USB drive. The USB drive should be formatted as FAT32 for the manual transfer. To do so, use the following steps:
- Plug USB drive into computer and ensure that the drive can be seen in a File Explorer window
- Return to NexaX and set up your print file
- Once model is set up with supports and orientation, click on the Save menu in the left hand toolbar of NexaX
- From the Save Menu, choose "Save Job" and name the file (file generation can take several minutes if the model has a large amount of layers)
- Once the file export is complete, minimize NexaX and use File Explorer to find the file and copy it over to the USB drive
- When the file finishes copying over to the drive, navigate to the file on the USB drive and drag and drop the .nxa file out of the job folder and into the root of the USB drive (this allows the printer to see the file on the touchscreen UI)
- Eject the USB drive and remove from the computer
- Plug the USB drive into the port on the printer and wait ~30seconds to allow the printer to read the drive
- On the touchscreen UI of the printer, choose Print > USB and choose your file from the list of print jobs available on the drive.
Follow the subsequent prompts on the printer touchscreen to start the print.
Updated
Comments
0 comments
Article is closed for comments.