Introduction
Your build should have now completed. For the easiest clean-up, we generally recommend letting the build sit after it has completed for about 5-10 minutes so that it can drip the excess uncured resin back into the vat.
As important as the printing itself is the post-processing of the part. Out of the printer, the part is in a partially cured green state and requires some additional curing to achieve its full mechanical properties. Before curing, you have to wash the part to avoid a tacky surface or dimensional inaccuracy issues.
Instructions
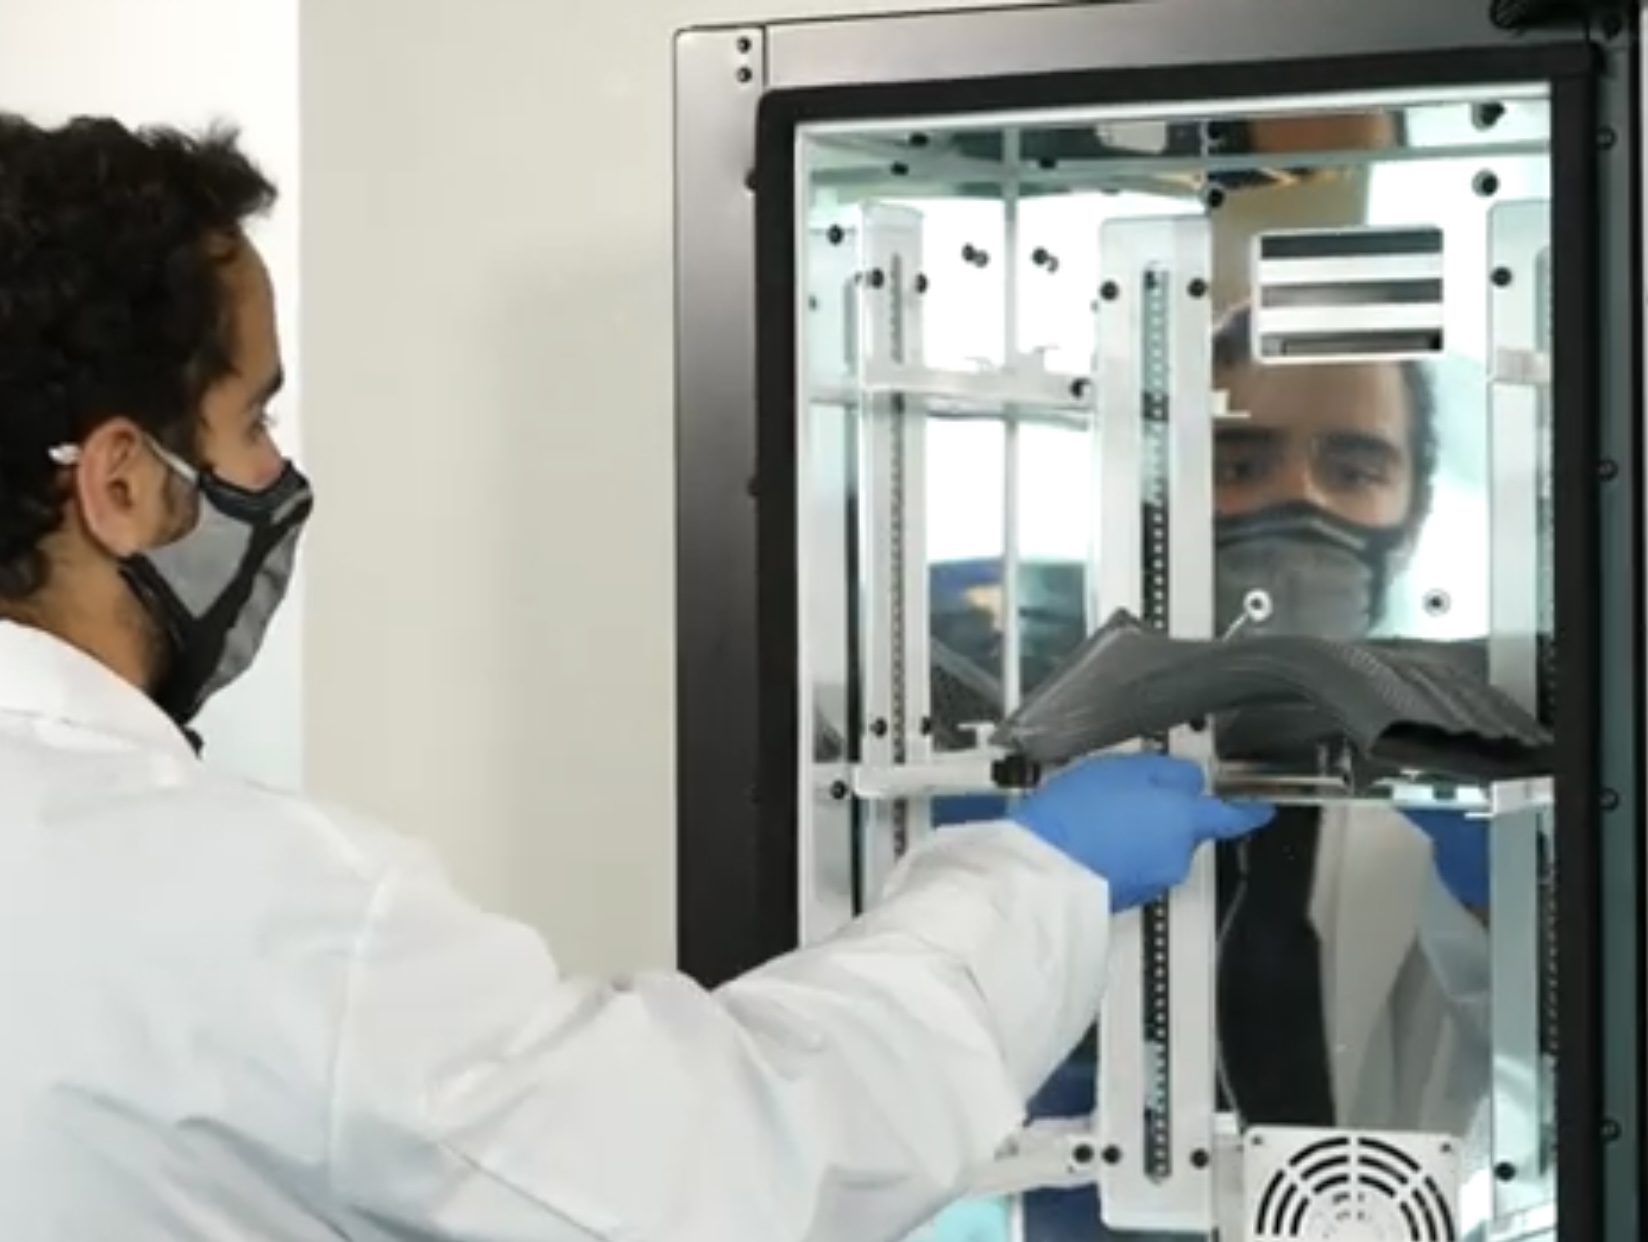
Step 1 | Wash your Parts
Washing your part can be done in a bath of IPA or xCLEAN and it is recommended you use our xWASH station so you can follow the validated workflow. To quickly summarize, xCLEAN has higher saturation limits (can be used longer before changeover) and the xWASH system has a rich feature set (large basin, automated timed washing, capable of washing parts with build plate attached). For more on washing and to see washing time guidelines, see this guide.

- Wash the part for the recommended time according to the guidelines here.
- For this print, you can use either the xWASH if you have one or the small basin that comes with the printer accessory kit.
- Use gloves when working with resin and solvents.
- If using xCLEAN, you will need to quickly rinse the parts with either water or IPA. This is dependent on resin so check the washing guide for more details.

Step 2 | Let the Parts Dry
Before curing, it is critical that the parts are dry of any solvent or water. If any remains on the surface, it can affect the surface quality, cause warping or leave white marks on the part. If your final rinse or bath was in IPA, you can let it air dry for 30 min. Otherwise, you will have to let the part dry for 40+ min if rinse in water. You can utilize dehydrators, drying units or compressed air chambers for faster drying.
Step 3 | Curing your Parts
The last stage is difficult to accomplish without the right equipment. Technically, you can achieve some level of curing with exposure to sunlight but it is recommended you use a curing station to ensure even exposure and intensity over a controlled time. Our xCURE unit is a great solution for this.
- Check the curing guidelines for the curing time of the resin used. Cure your part in the xCURE for the recommended time.
What's Next
Congratulations! You've completed all the Getting Started steps. You should now have a keychain, fully washed and cured. You will need to remove the support and finish the part. These are some useful guides for that:
- Removing Support
- Part Finishing
As you start to use the equipment more, I would take a deeper look into our knowledge base. There are tips & tricks on how to best prepare your print files, information on maintenance and much more! Here are a few to get you going:
- NexaX: Getting Started
- Print Design Guidelines
- NXE400 / NXD200 Maintenance Schedules
Updated
Comments
0 comments
Please sign in to leave a comment.